 After the hardware had been built the
functionality should be checked. An easy way of doing this is to
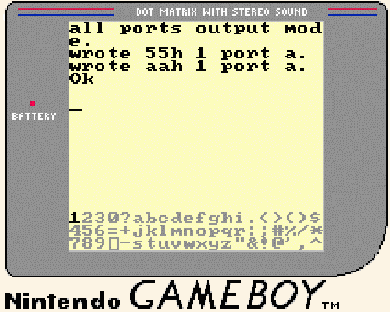
write a short GB-Basic program. This requires an EPROM with the
latest version of Jeff's
GB-Basic (ver 1.22) in it. After pluging in the EPROM and
switching on the GB the 'Nintendo' start screen should appear.
If the screen is blank or 'snow', stripes appear on the screen the
hardware should be checked.
Begin with a check of the EPROM
(Programmers can read out the ROM's and cross check it with the
source file), then re-check the layout. If GB-Basic is up and running
you're more than half way home!
To
check the 82C55 requires access to the 82C55 at the hardware
addresses 7FF8h to 7FFFh. This can be achieved by reading and writing
to these addresses using the Basic commands peek and poke.
To
output a bit combination at a port simply write it with 'poke
<port-adr> <value-to-write>. To read a bit combination
from a port use 'peek <port-adr>'. TO display the returned
value on screen use 'print peek <value>'. The address and value
can be in decimal or hex (put a 'h' behind the value then). Don't
forget that the ports of the 82C55 have to be set to either input or
output mode before reading or writing data. This is done by writing
the control word to 7FFFh (the control register) - see
paragraph 3.2.
To generate a bit
combination for testing use pull up or pull down resistors of
aproximately 5k. Note that the driver capacitiy of the 82C55A is
limited. To drive an LED for example requires an additional
transistor.
The program we wrote in assembler for the 82C55 was for testing purposes only. The functionality is limited to setting and resetting single bits on the different ports. A port read option with screen output is integrated. A simple basic program would have done the same, but the use of assembler offered the opportunity of learning how to use a compiler. The source code is well documented on a line by line basis.

![]()
This document was created with StarOffice
4.0 by Marc
Rawer